Overview
Welcome to OnSched.js. OnSched.js provides for rapid UI implementation with the OnSched API. We do all the heavy lifting for you so you can quickly go live and start accepting bookings.
OnSched.js is built on the foundation of UI elements. You simply assemble the elements to support your own booking flows.
Setup and Installation
Add the following script tag before the closing tag of your document:
<!--Include OnSched.js CDN-->
<script type="text/javascript" src="https://js.onsched.com/1.0.0/"></script>
Domain Validation
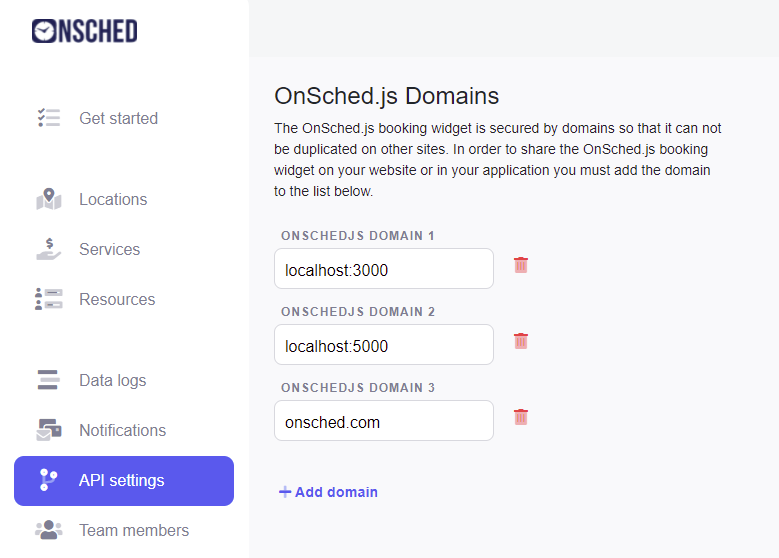
OnSched.js validates the domains entered in the APISettings tab of the Dashboard. We then authenticate for you when you call the initialization function described in the Initialization section of the OnSched.js documentation.
In order to add new qualified domains navigate to the API settings tab in the Dashboard:

Using Custom Events
Custom events are fired when the API returns a response for each element. Leverage the custom events to utilize the API response in your own elements rather than the OnSched.js defaults. API response for all custom events will be accessible from event.detail.
For example...
Locations Element Events
getLocations Fired when existing locations are found
clickLocation Fired when a location is clicked in the Locations Element list
First we create a div in HTML to be used for mounting...
<div id="locations"></div>
Then we hide the default element in CSS...
#locations {
	display: none;
}
Lastly we use the getLocations event to console log the response...
var locationsParams = { units: 'imperial', limit: 8, offset: 0 };
var locationsOptions = {};
var locations = elements.create("locations", locationsParams, locationsOptions);
var elLocations = document.getElementById("locations");

elLocations.addEventListener("getLocations", function (e) {
	console.log(e.detail);
});

locations.mount("locations");
Updated about 4 years ago
